One of the points I missed when changing the Mac I was using from Intel to M1 was the possibility of using Vagrant with VirtualBox. I tried so many other providers, but nothing that worked as well.
In this Lab, I have been using my Host with Linux Debian 12 and I rarely use the Mac, but in some testing situations, it would be worth having a way to create VMs locally.
However, there is a free version of VMWare Fusion Player which has had good response with Vagrant and Mac.
I’m going to leave here a simple tutorial on how to get an environment like this working.
Install Vagrant.
The first step is to install Vagrant on your Mac, using brew:
brew tap hashicorp/tap
brew install hashicorp/tap/hashicorp-vagrant
Install VMWare Fusion Player.
Now, you need to download and install VMWare Fusion Player, and as mentioned, there is a free version for personal use.
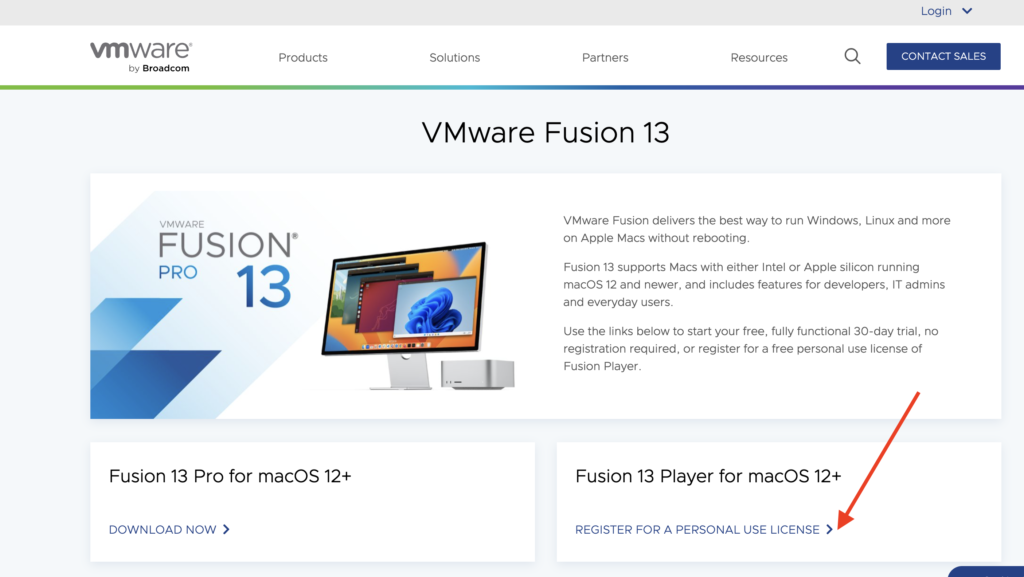
At this address: https://www.vmware.com/products/fusion/fusion-evaluation.html
Choose the option “REGISTER FOR A PERSONAL USE LICENSE” in the “Fusion 13 Player for macOS 12+” box.
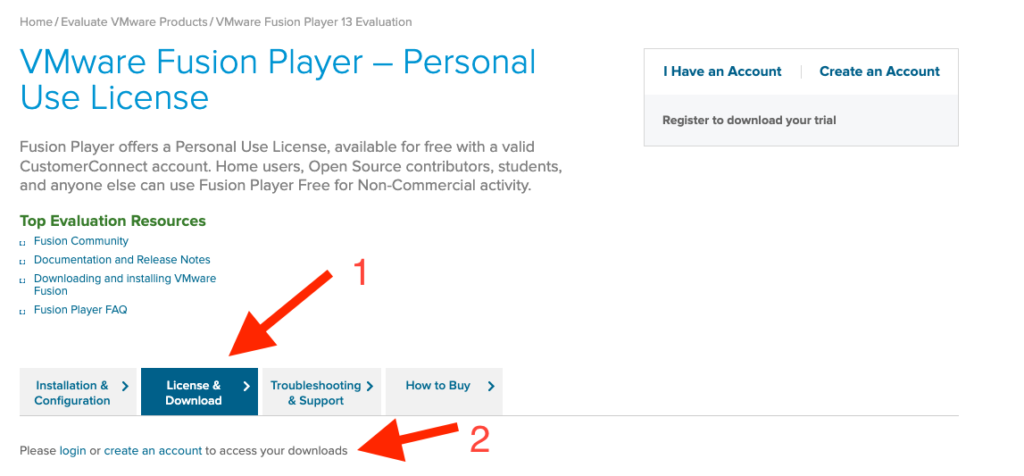
If you have not already registered on the VMWare website, create an account and then be able to register for the Personal User version
Immediately after registering the trial version (Start Free Trial), a screen like the one below will be shown, with its serial number. It will be used when installing Fusion.
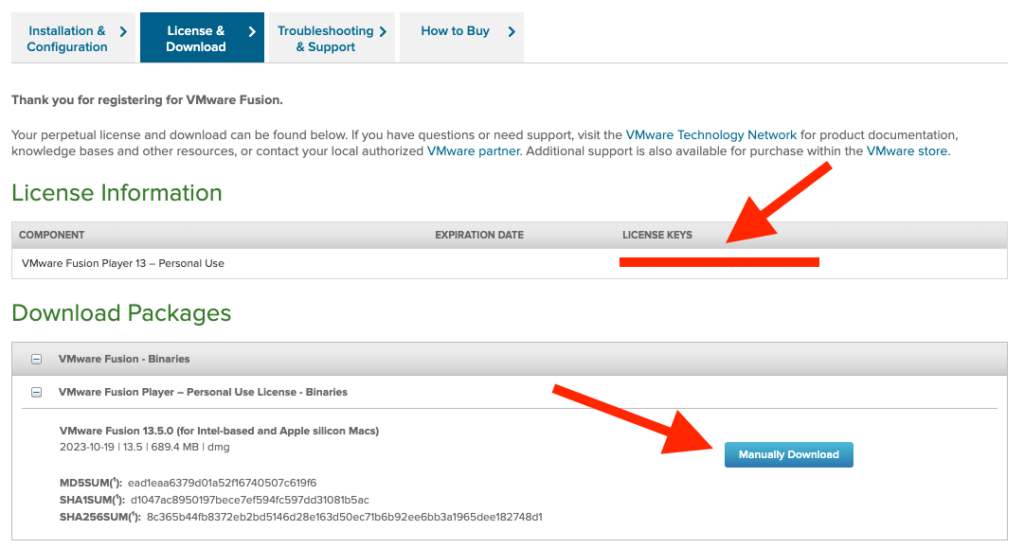
Press the Manually Download button and download the img file.
It is a standard installer, equally for Fusion Pro or Fusion Player, the moment you insert your Serial the free version will then be installed.

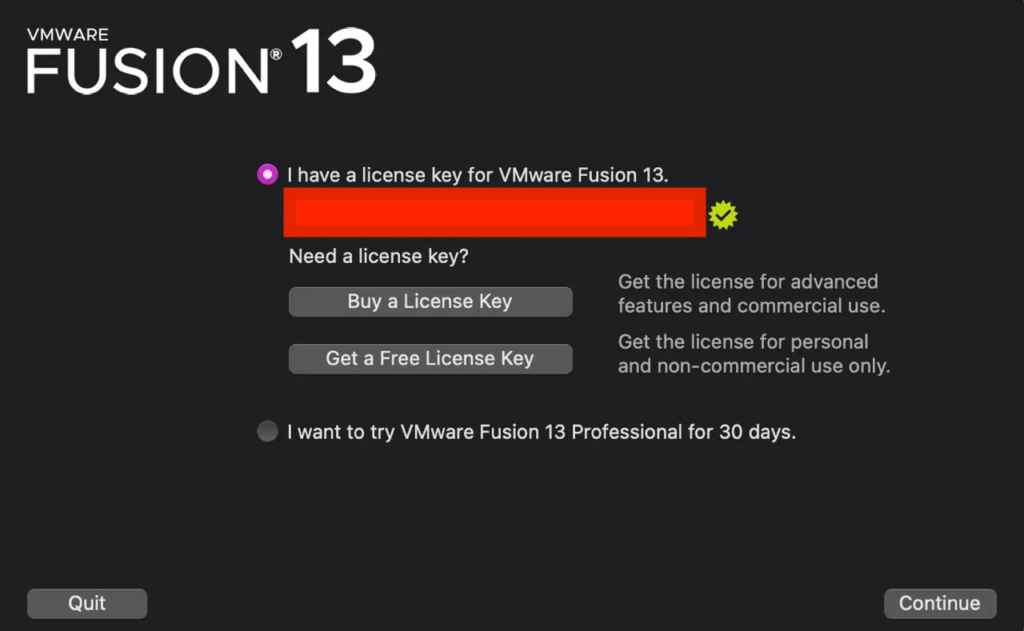
Installation takes a while, and once it’s done, you’ll have opened your Fusion.

Install Plugin.
After installing VMWare Fusion, we will install the plugin that will serve as a VMWare provider for Vagrant. The first step is to download the plugin and install it on your Mac. https://developer.hashicorp.com/vagrant/install/vmware
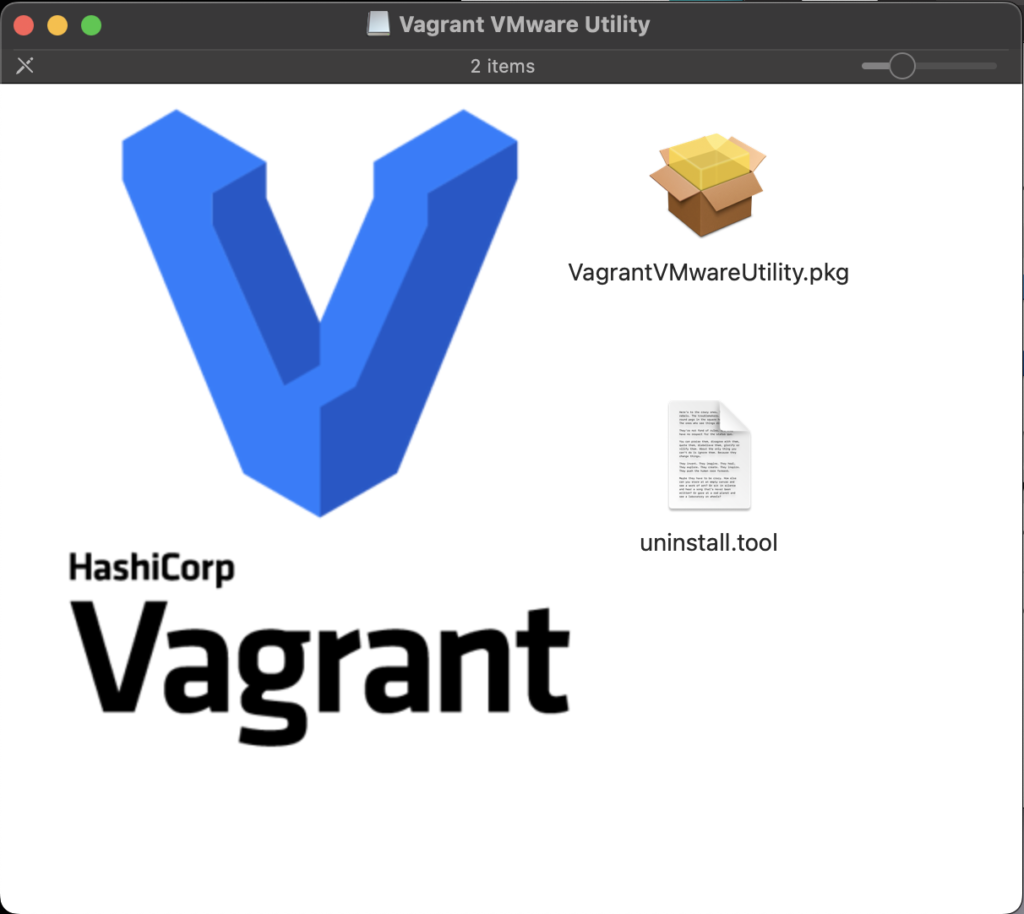
After installing the plugin on your Mac, you need to install this plugin on Vagrant, to do this in the Shell:
# vagrant plugin install vagrant-vmware-desktop

Installing the 'vagrant-vmware-desktop' plugin. This can take a few minutes...
Fetching vagrant-vmware-desktop-3.0.3.gem
Installed the plugin 'vagrant-vmware-desktop (3.0.3)'!
Vagrant run.
From this point on, it is now possible to use Vagrant.
Let’s use the Vagrantfile below as an example, to create an Ubuntu 22 VM, with a fixed IP.
Vagrant.configure("2") do |config|
  config.vm.define "srv-vmware-01" do |testvmware|
    testvmware.vm.box_architecture = "amd64"
    testvmware.vm.box = "bento/ubuntu-22.04"
    testvmware.vm.hostname = 'srv-vmware-01'

    testvmware.vm.network "public_network", use_dhcp_assigned_default_route: true, bridge: "enp7s0", ip: "172.21.5.160"
    testvmware.vm.provider :virtualbox do |v|
        v.customize ["modifyvm", :id, "--natdnshostresolver1", "on"]
        v.customize ["modifyvm", :id, "--memory", 1024]
        v.customize ["modifyvm", :id, "--name", "srv-vmware-01"]
    end
  end
end
It is always possible to set the Vagrant provider in different ways, I prefer to keep it in the Vagrant up/.. call. (–provider=vmware_fusion)
$ vagrant up --provider=vmware_fusion

Bringing machine 'srv-vmware-01' up with 'vmware_fusion' provider...
==> srv-vmware-01: Box 'bento/ubuntu-22.04' could not be found. Attempting to find and install...
    srv-vmware-01: Box Provider: vmware_desktop, vmware_fusion, vmware_workstation
    srv-vmware-01: Box Version: >= 0

[...]

$ vagrant ssh

Welcome to Ubuntu 22.04.3 LTS (GNU/Linux 5.15.0-92-generic aarch64)

 * Documentation:  https://help.ubuntu.com
 * Management:     https://landscape.canonical.com
 * Support:        https://ubuntu.com/pro

  System information as of Tue Apr 23 12:10:09 PM UTC 2024

  System load:  0.49169921875      Processes:             233
  Usage of /:   12.2% of 29.82GB   Users logged in:       0
  Memory usage: 11%                IPv4 address for eth0: 172.16.146.128
  Swap usage:   0%
Okay, from now on, it’s normal use of the VM.
Leave a Reply