Jenkins x Gitlab – Configure Integration.
In this post, I will show the first part of configuring the GitLab integration with Jenkins to trigger pipelines.
There are several types and forms of pipelines, including just the GitLab CI/CD one, which is already great. Here I will show how to do this integration, making GitLab trigger Jenkins when a merge request is created, pushes are made or the merge request is merged to master.
You will notice that in the configurations there are several options to be explored, it is worth taking training in both GitLab and Jenkins.
I do not intend here to teach how to work with GitLab or Jenkins, nor pipeline training, but to show integrations and some ways of writing pipelines, with very practical and objective examples.
This configuration has settings in both tools and at the end just one of the simplest trigger examples, in the next posts I will explore triggers and pipelines better.
Groups and Projects in Gitlab.
First, let’s review and create the Groups, Sub-Groups and Projects, we already saw this in the GitLab configuration post.
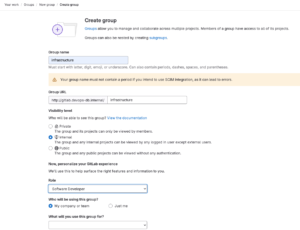
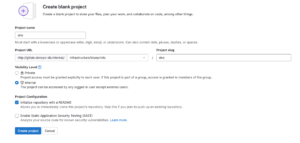
For the first pipeline that will be written in the next posts (DNS Management), I will create the Gitlab structure:
Remember to leave the “Visibility Level” of groups and projects as Internal, if you want, change the main branch and make the settings your project needs.

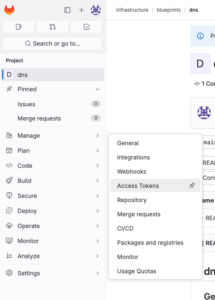
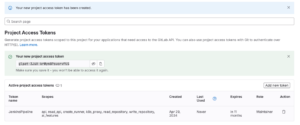
With the project created, access it and we will create an access token in Settings / Access Tokens, I created it for the project, but you can create it for the entire Group.
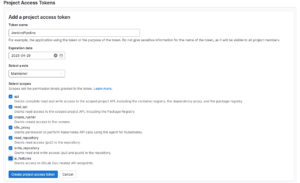
Create a name, and change the expiration date, normally, by default the date comes with an expiration of 30 days and can have a maximum of 365, but you can leave it blank to have no expiration. I’ll leave it at 365, as this should soon be controlled by Vault. Select in Scopes, API only.
When generating the token, keep it safe, it will be used in the Jenkins configuration.
GitLab Settings.
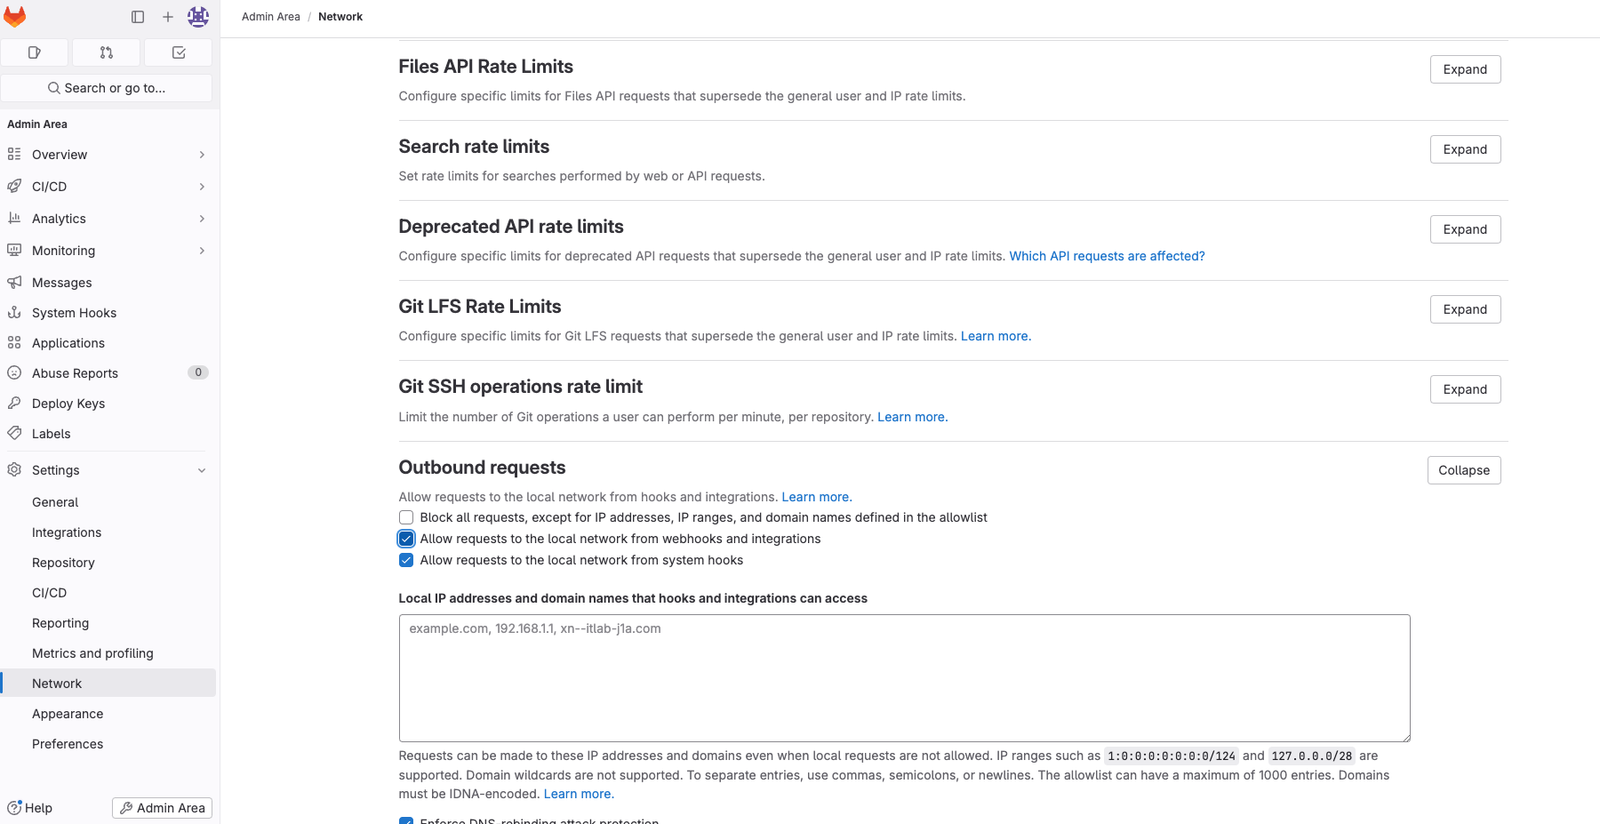
To allow Jenkins to access GitLab, we need to configure GitLab to allow requests on the local network for WebHooks and Integrations. In: Admin Area / Settings / Network, look for the Outbound Requests section, expand it and check the option “Allow requests to the local network from webhooks and integrations“
Jenkins Settings.
Let’s go to the first part of the Jenkins configuration.
The first step is to install the Jenkins plugin for Gitlab. In the menus: Manage Jenkins / Available plugins, then look for the GitLab plugin and press the install button.

Once installed, we have to configure the plugin, there are a few steps, so pay attention to this point.
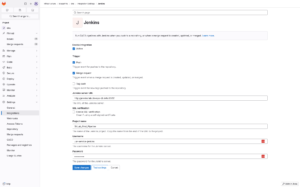
Let’s configure the URL and Access Token in Manage Jenkins / System / Gitlab.
This configuration can be created one for each project, at this point, I will only use the Token that we created in the DNS project.
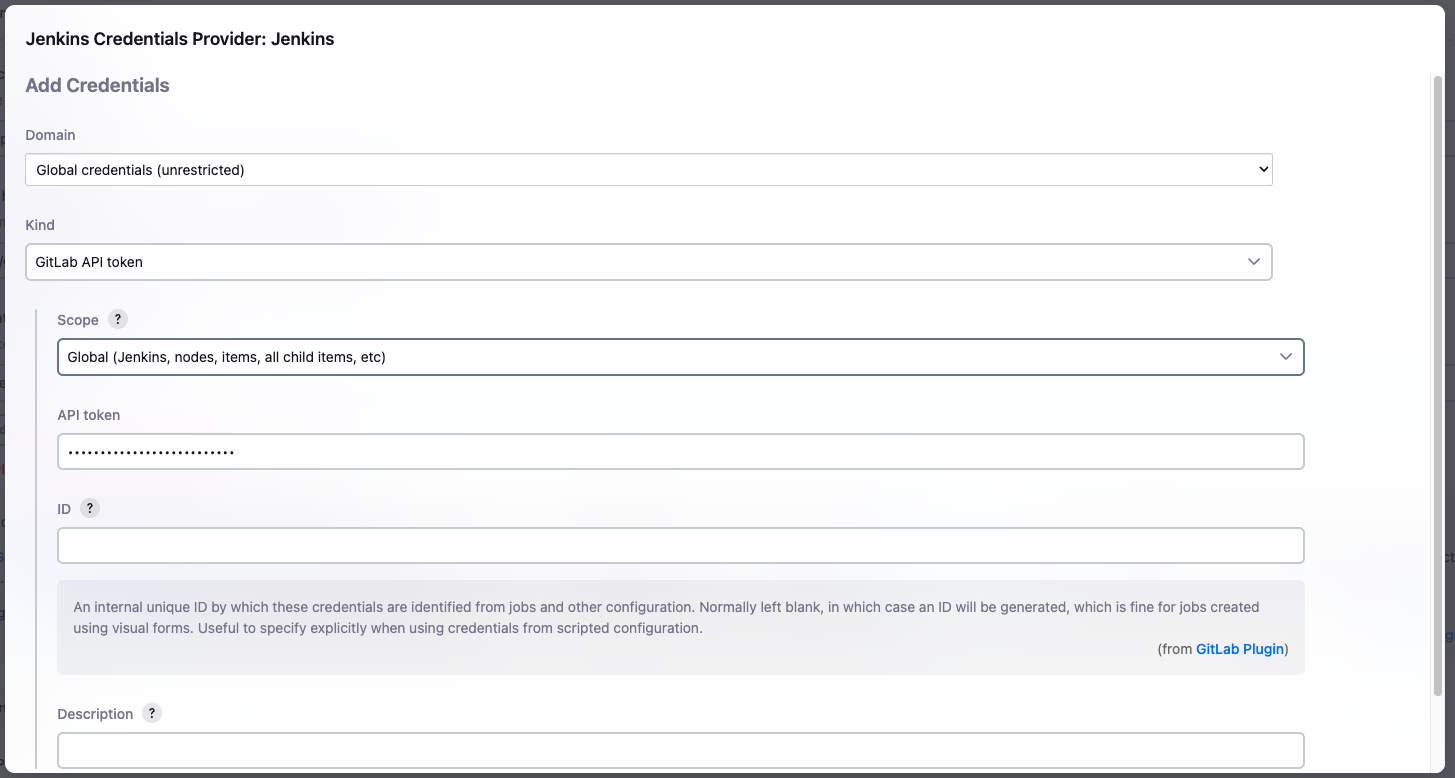
Note that in Credentials, it will probably be like the image below, as None, to configure the Token created in Gitlab, you need to click Add.

Choose the Domain: Global Credentials, Kind as GitLab API Token and Global Scope (Jenkins, nodes, items, all child items, etc).
In the API token field, enter the token you created above in GitLab.
With the credential created, give this connection a name, and enter the GitLab URL.
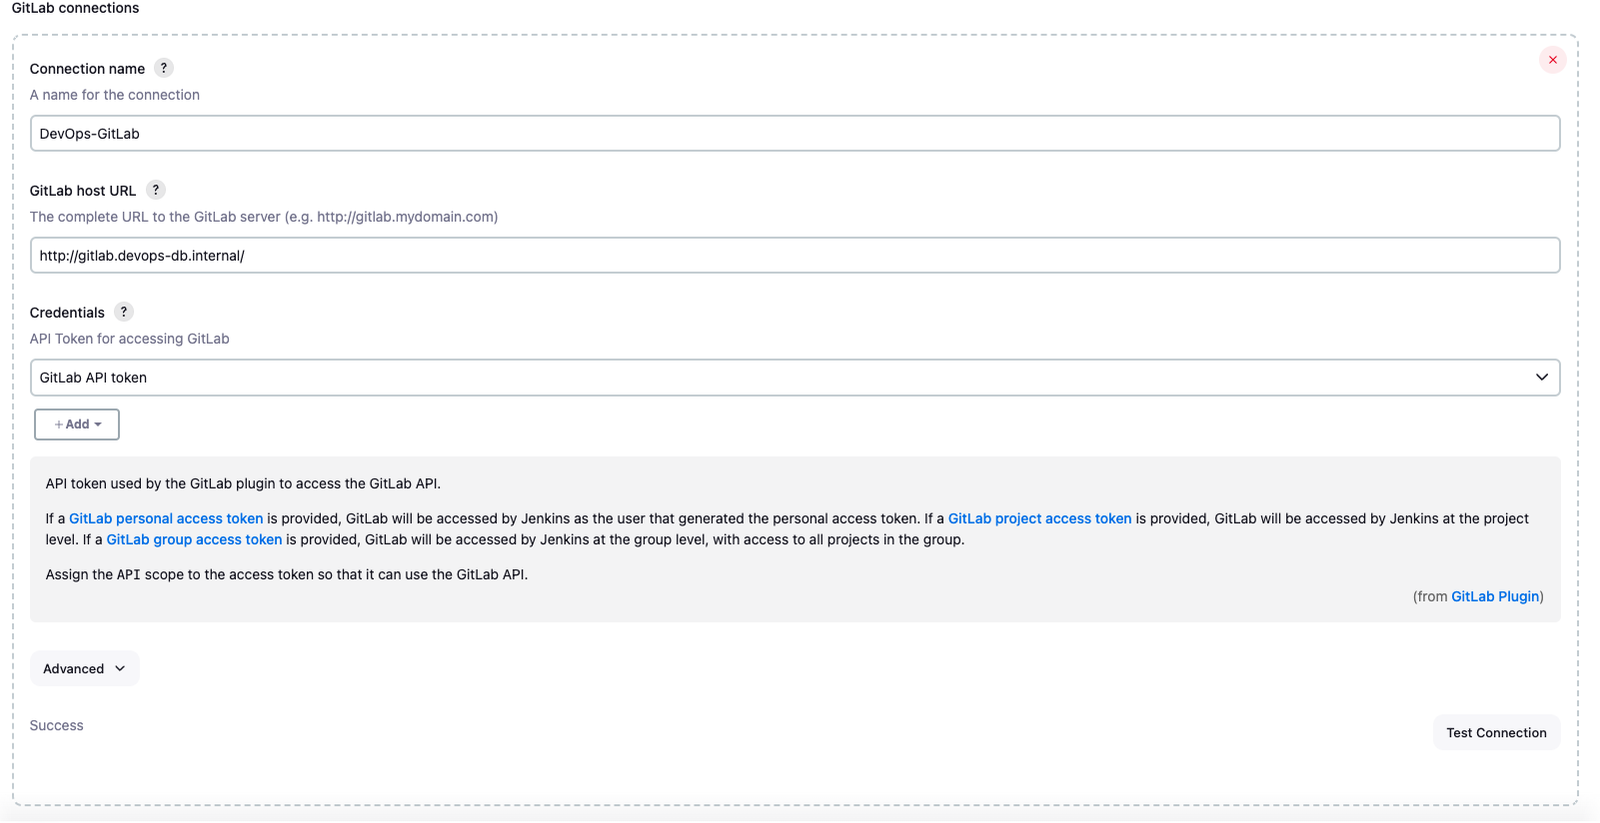
With everything ready, perform a connection test using the Test Connection button. The information Success must appear in the lower left corner of the table.
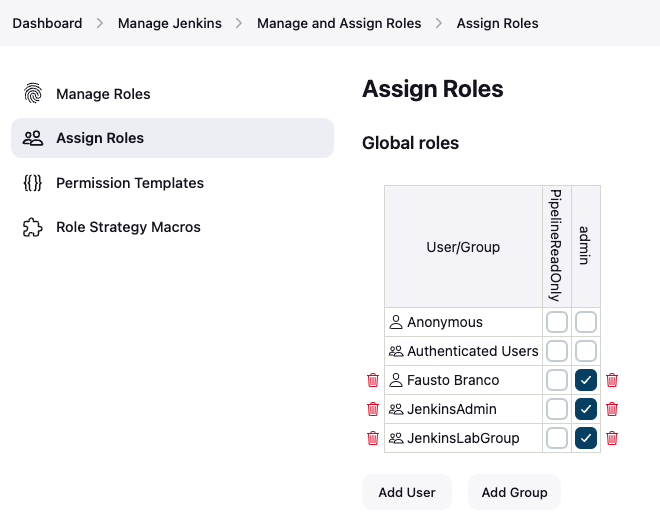
Temporarily, just for this example, we will change the JenkinsLabGroup Group in Jenkins that we created in LDAP for the Admin role. Later on, we will create these permissions appropriately. In Manage Jenkins / Manage and Assign Roles / Assign Roles, check the admin option for the JenkinsLabGroup group.
First Pipeline.
To proceed with the configurations, we need to create a Pipeline project in Jenkins, once again, at this point it will be very simple, it will not do anything, just to show the initial configurations. Because, in the next posts, I want to show how to use GitLab as a repository for the pipelies’ sources and how to use Docker to run what we need, etc.
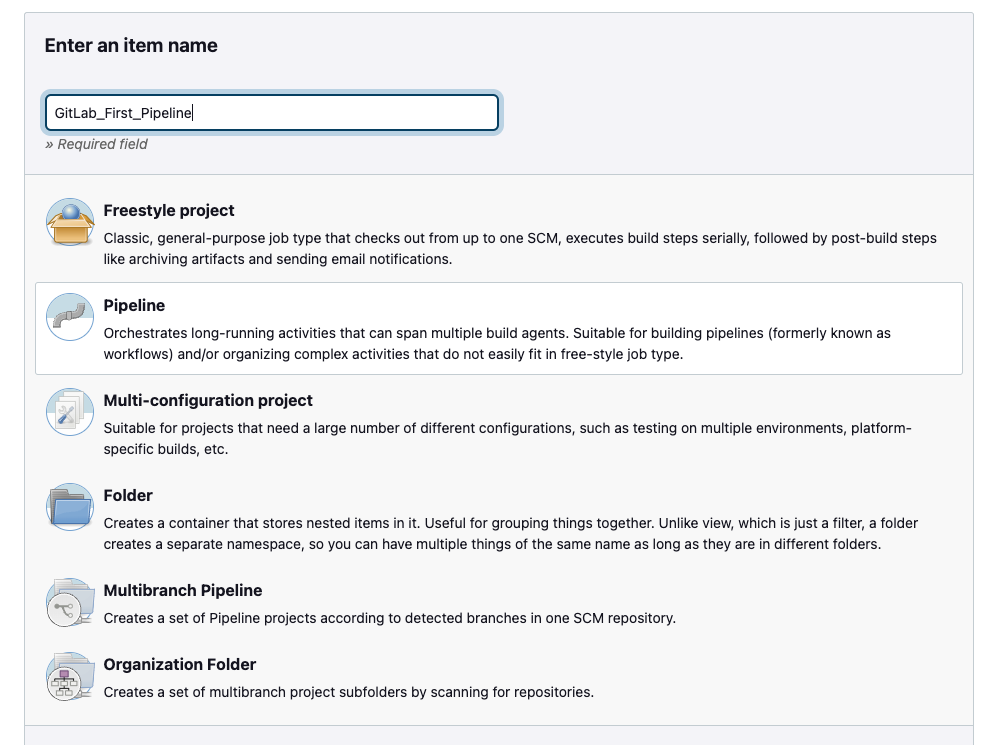
So, on the Jenkins home screen (Dashboard) click on New Item or Create a Job and the screen below will be loaded.
Give your Pipeline a name and choose the Pipeline option.
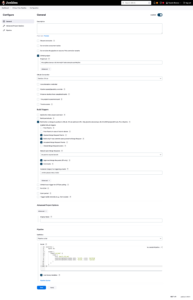
After creating the Pipeline Job, let’s configure it. There are a few steps, so pay attention.
Choose the GitHub project checkbox and enter the full URL of your GitLab project.
Next, choose the connection that will be used, we created it a few steps above.
- Build Triggers are very important and it is worth looking at the Jenkins, GitLab or training sites for more information. I mark the options:
- Build when a change is pushed to Gitlab….
- Opened Merge Request Events
- Build only if new commits where pushed to Merge Request
- Accept Merge Request Events.
- Rebuild open Merge Request: On Push to source branch
Because I want the pipeline to be triggered whenever there is a push with changes to the MR and then also triggered when it is Merged to the Master.
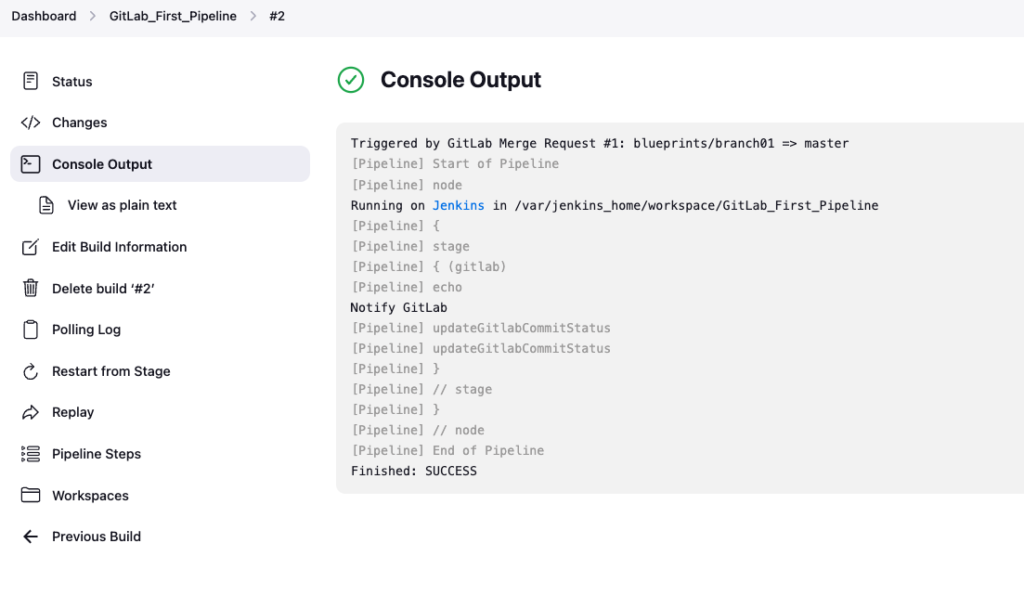
In Pipeline, I leave the script below, it doesn’t do anything, it just sends the pending and success message to GitLab.
 pipeline {
    agent any

    stages {
       stage('gitlab') {
          steps {
             echo 'Notify GitLab'
             updateGitlabCommitStatus name: 'build', state: 'pending'
             updateGitlabCommitStatus name: 'build', state: 'success'
          }
       }
    }
 }
Integration with Gitlab.
Pipeline created, we have to go back to GitLab and configure the project to accept the integration.
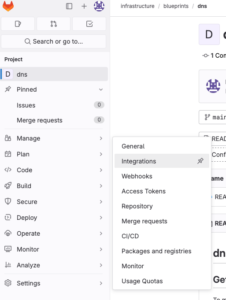
In the GitLabn Project (DNS), we will configure the integration with Jenkins: Settings / Integrations. Choose Jenkins integration and press the configure button.

In this configuration screen, we will provide a few more integration steps and also the URL of the pipeline that we created above and the authentication that will be used, we created it in LDAP and changed the group permission a few steps above.
- Mark the Jenkins integration as Active.
- In Trigger, check Push and Merge request
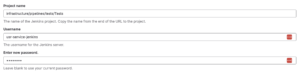
- In the URL, copy and paste the Jenkins URL.
- In Project name, copy only the last part of the URL of your project in Jenkins, for example: in http://jenkins.lab.devops-db.info:8081/job/GitLab_First_Pipeline use only GitLab_First_Pipeline
- Username: The user we created for this in the Jenkins cdo integration with LDAP post: usr_service-jenkins
Click on Test Settings and confirm that your settings are ok before saving.
Merge Request and Pipeline Testing.
Everything is ready, the integration and pipeline are configured. Assuming that everything went well, we will clone the project and create any file, just to create a merge-request and trigger the pipeline.
$ git clone http://gitlab.devops-db.internal/infrastructure/blueprints/dns.git
Cloning into 'dns'...
remote: Enumerating objects: 3, done.
remote: Counting objects: 100% (3/3), done.
remote: Compressing objects: 100% (2/2), done.
remote: Total 3 (delta 0), reused 0 (delta 0), pack-reused 0
Receiving objects: 100% (3/3), done.

$ cd dns

$ git checkout -b branch01

$ vi test.txt

Lorem ipsum dolor sit amet, consectetur adipiscing elit, sed do eiusmod tempor incididunt ut labore et dolore magna aliqua. Ut enim ad minim veniam, quis nostrud exercitation ullamco laboris nisi ut aliquip ex ea commodo consequat. Duis aute irure dolor in reprehenderit in voluptate velit esse cillum dolore eu fugiat nulla pariatur. Excepteur sint occaecat cupidatat non proident, sunt in culpa qui officia deserunt mollit anim id est laborum.


$ git add .

$ git commit -m "[FEAT] merge request test"
[branch01 1813381] [FEAT] merge request test
 1 file changed, 1 insertion(+)
 create mode 100644 test.txt


$ git push origin branch01
Enumerating objects: 4, done.
Counting objects: 100% (4/4), done.
Delta compression using up to 4 threads
Compressing objects: 100% (3/3), done.
Writing objects: 100% (3/3), 555 bytes | 555.00 KiB/s, done.
Total 3 (delta 0), reused 0 (delta 0), pack-reused 0
remote:
remote: To create a merge request for branch01, visit:
remote:   http://gitlab.devops-db.internal/infrastructure/blueprints/dns/-/merge_requests/new?merge_request%5Bsource_branch%5D=branch01
remote:
To http://gitlab.devops-db.internal/infrastructure/blueprints/dns.git
 * [new branch]      branch01 -> branch01
So, we create the Merge request:
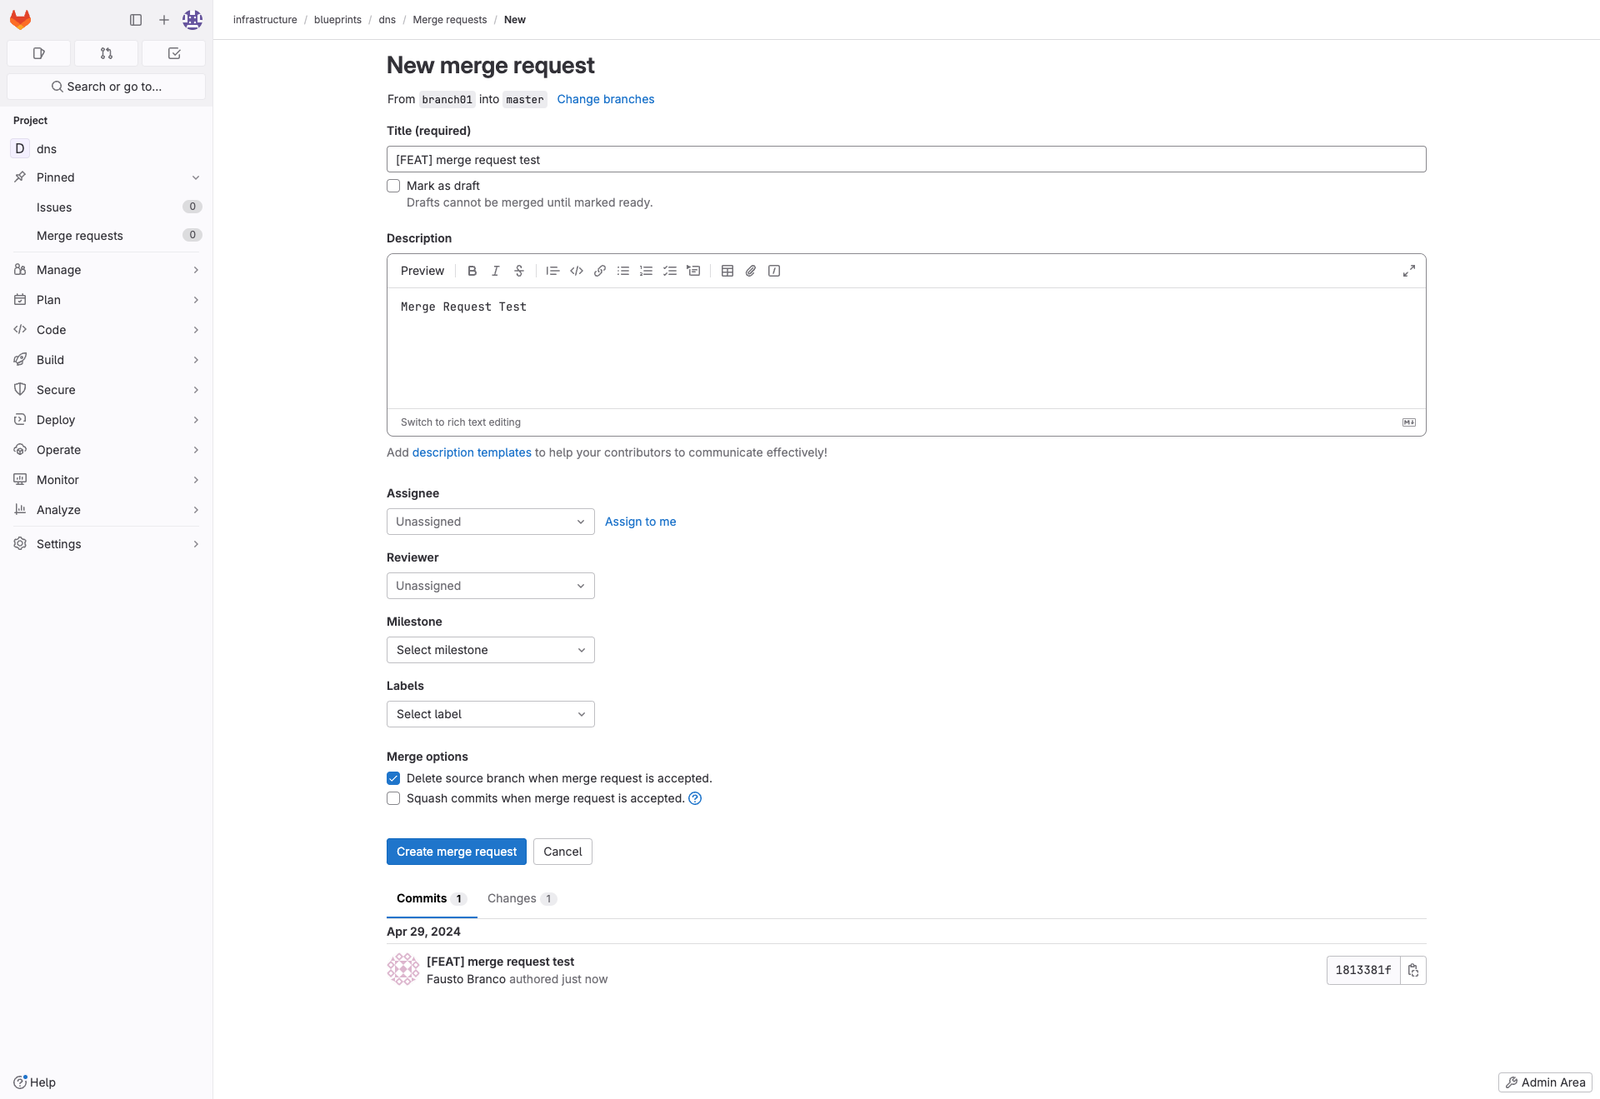
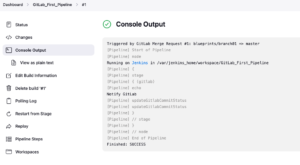
See that right after creating the Merge Request, the Jenkins pipeline was immediately triggered.
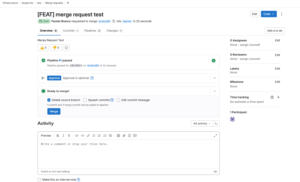
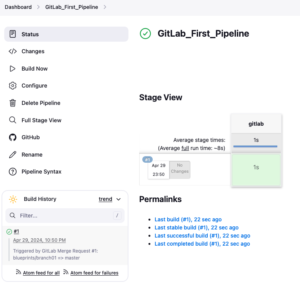
Do the Merge and see that another Pipeline has been activated again:
Later on, in another post, I will show how to separate the Create MR, Push and Merge events.
For now, we have a Jenkins pipeline configured to run triggered by Merge Requests in GitLab.

Leave a Reply